The quick answer
Stabilize the correct stone, use the knife maker’s bevel angle, work the whole edge evenly on both sides and finish with light alternating passes. Follow the stone’s instructions for water or oil. This guide is for ordinary double-bevel, plain-edge steel kitchen knives.
In this guide
Check the knife and stone first
A chipped blade, broken tip, single-bevel knife, serrated bread knife or ceramic knife needs a different method. If you are unsure what you own, identify it before grinding the edge. Practise on an inexpensive plain-edge knife rather than your most delicate blade.
A medium-grit stone is a useful place to learn routine sharpening. Very coarse stones remove metal quickly and are better reserved for repairs; extra-fine polishing cannot compensate for an edge that was never sharpened evenly. Waterstones vary: some need soaking and others only surface water.
- Set the stone in a non-slip holder on a steady worktop.
- Keep fingers behind the cutting edge and away from the stroke path.
- Use the stone’s specified lubricant; do not guess that every stone should be soaked.
Choose a consistent angle, not a universal number
The correct angle depends on the knife. Manufacturer recommendations differ, including between product lines. Use the stated angle per side, or an appropriate guide if maintaining it freehand is difficult. A symmetrical knife is not automatically a 20-degree knife.
Marking the bevel with a washable marker can help you see where the stone is contacting it. A few gentle passes should remove the mark along the bevel rather than only at the shoulder or tip. Wash the blade thoroughly before it returns to food preparation.
Work from heel to tip
Set the bevel
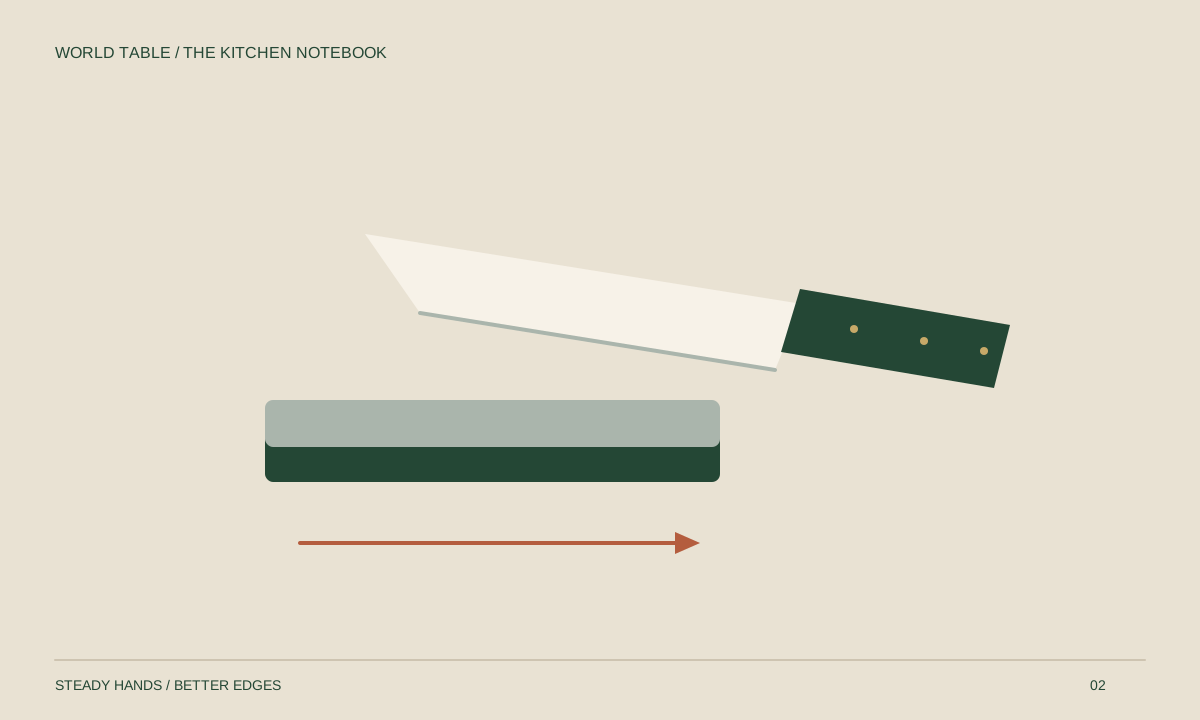
Hold the knife securely and place the bevel at the intended angle. Keep the wrist position steady.
Cover the entire edge
Use controlled strokes and moderate, even pressure. Work the heel, middle and tip without tipping the blade steeply as you reach its curve. Re-wet the stone as its instructions require.
Switch sides evenly
Work the opposite side at the same intended angle. A small burr indicates that you have reached the edge; do not drag a finger along the blade to look for it. If you cannot assess it safely, use magnification or get instruction.
Finish lightly
Reduce pressure and alternate sides to remove the burr. Rinse and dry the blade, then make a controlled test cut through paper or a tomato on a cutting board. Never test an edge against skin.
Protect the work you just did
Wash knives by hand, dry them and store them in a sheath, block or suitable rack. Cut on wood or plastic rather than glass or stone. Do not scrape a board with the sharp edge; use a bench scraper or the spine if the knife design allows it.
If sharpening improves only one part of the blade, review angle control and whether your stone has become dished. Stone maintenance and flattening should follow its maker’s guidance. Persistent chips or uneven bevels are good reasons to use a professional sharpening service.
A few useful answers
Can this method sharpen a serrated knife?
Not as described. Serrations need tools and techniques suited to their individual scallops.
How often should I sharpen?
Sharpen when ordinary maintenance no longer restores a useful cutting edge; frequency depends on use, steel and cutting surface.
Care and appliance instructions vary by model. Use your product’s stated limits and the method that suits its material.
Put it into practice