The quick answer
Mix equal weights of whole-grain flour and water in a clean jar, then keep a small portion and feed it equal weights of flour and water regularly. A new starter may take well over a week to become reliable. Bake with it only after it repeatedly rises strongly after feeding; discard any culture with mold, pink or orange discoloration or a rotten smell.
In this guide
Begin with a small amount
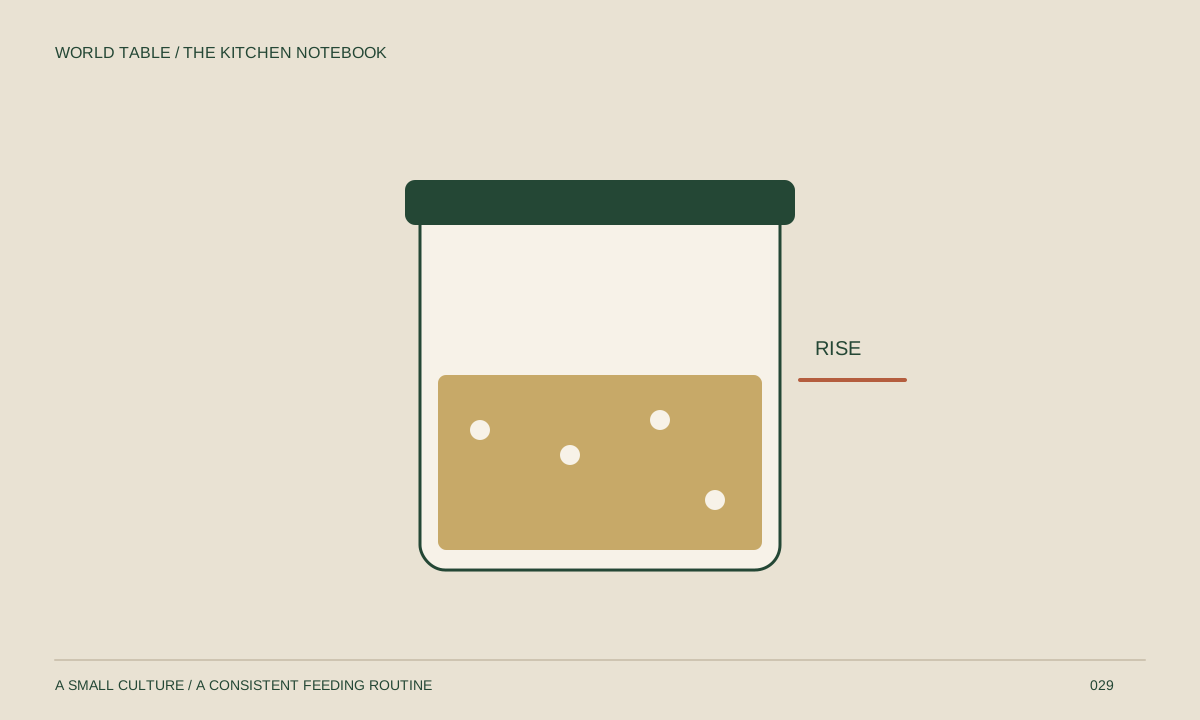
Use a clean jar with room for the mixture to expand and a loosely fitted lid. Mix 20 g / 0.7 oz whole-wheat or rye flour with 20 g / 0.7 oz water. Mark the level and keep it at a moderate room temperature, away from direct sun or an operating oven.
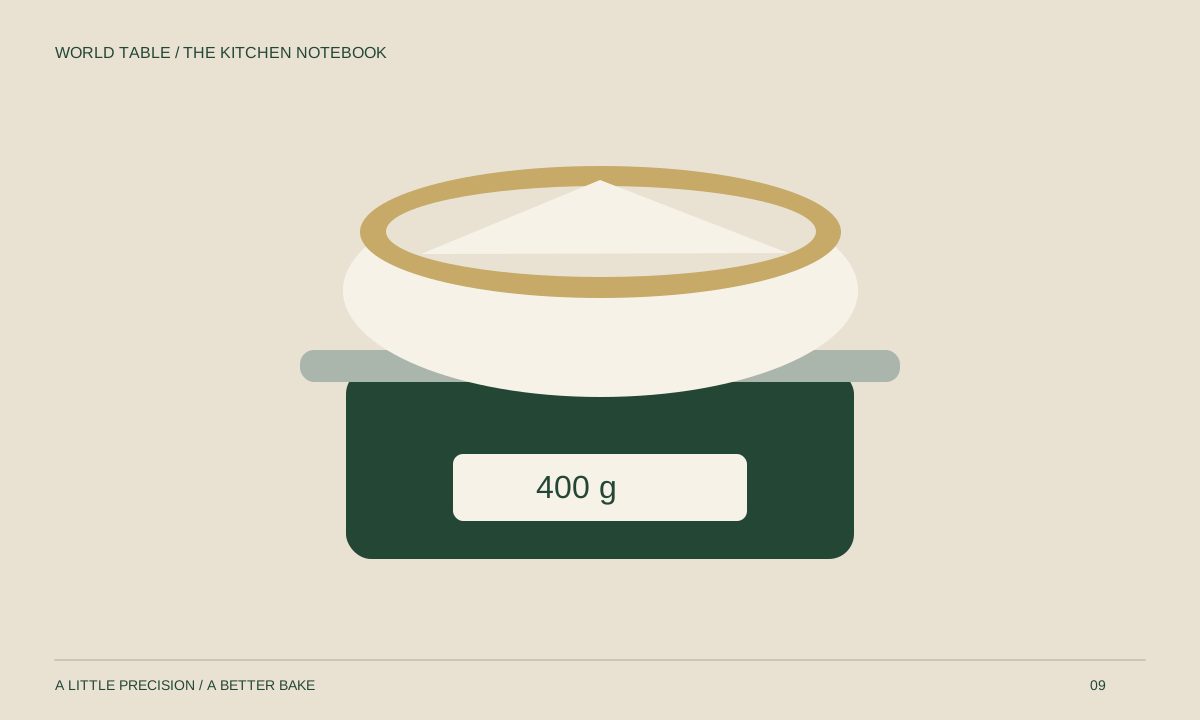
Weigh flour and water; equal cup measures are not equal weights. A scale makes feeding consistent and reduces waste. Do not taste raw starter: it contains uncooked flour.
A practical feeding routine
Observe the first day
After roughly 24 hours, note bubbles, aroma and any change in height. A quick burst of activity at the beginning does not mean the culture can raise bread reliably.
Retain a measured portion
Keep 20 g starter in a clean jar and remove the rest. Add 20 g flour and 20 g water, stir and mark the new level.
Repeat and watch the pattern
Feed daily at first. When activity becomes regular and the starter rises and falls sooner, move toward twice-daily feeding as needed. Cold kitchens may require more time.
Wait for dependable rise
A mature starter should rise strongly and repeatably after feeding and smell pleasantly fermented. Record the time to peak over several feeds rather than judging one isolated bubble.
Readiness and signs to stop
Do not decide solely by the calendar or a float test. The useful evidence is predictable expansion after feeding, followed by gradual recession, repeated over several cycles. A quiet period after early bubbling is common; continue a consistent routine if there are no spoilage signs.
Discard the entire culture if mold, pink or orange streaks, or a rotten smell appears. Do not scrape the top and use what is underneath. Start again with a clean container. Discard from a young unstable culture should be thrown away; use established-starter discard only in recipes that cook it fully.
A few useful answers
Must a new starter be ready in five days?
No. Flour, temperature and the developing culture can make it take much longer. Use repeated feeding response rather than a promised date.
Can I add commercial yeast?
That changes the process. For this flour-and-water culture, do not add packaged yeast; give the culture time to develop.
Use the full recipe alongside these tips, and follow the stated care and safety limits of your equipment.